Last updated November 21, 2026
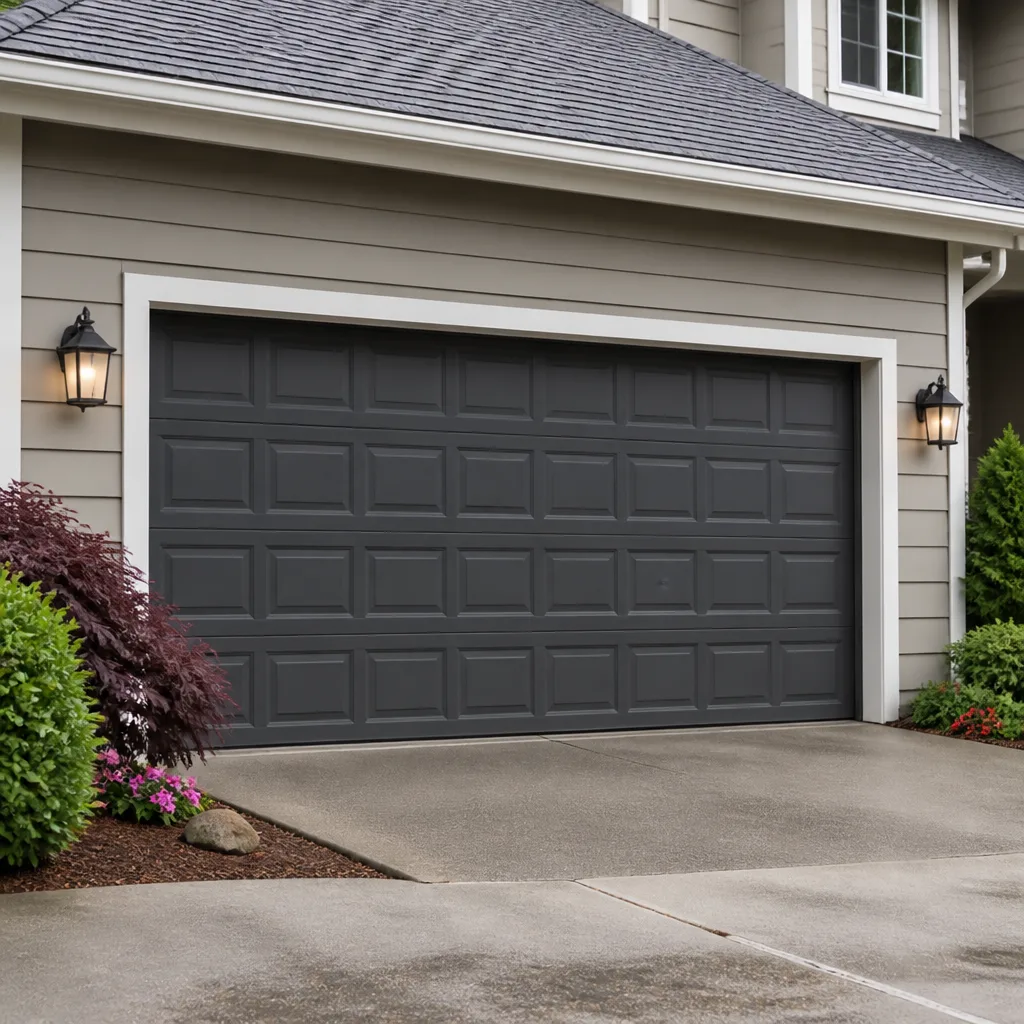 Raised-panel steel
 Carriage house
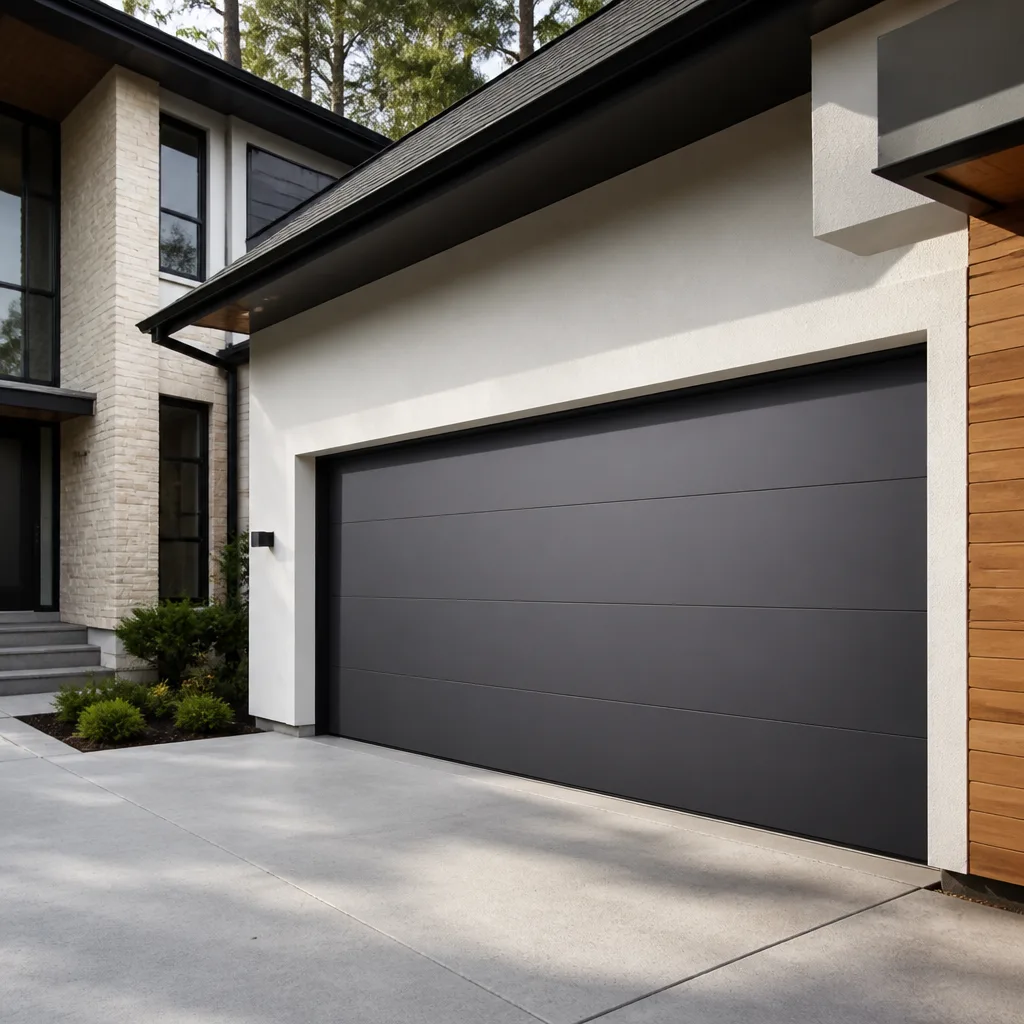 Modern flush
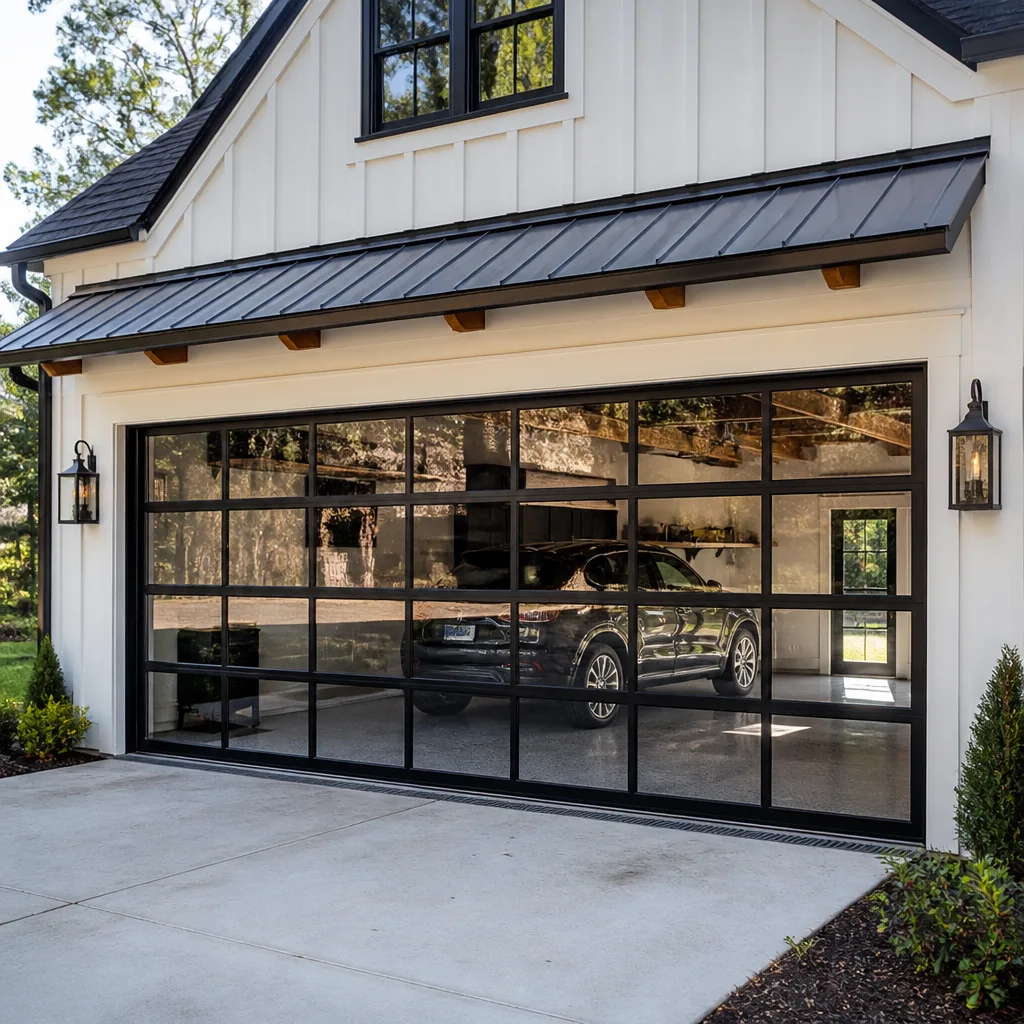 Full-view glass
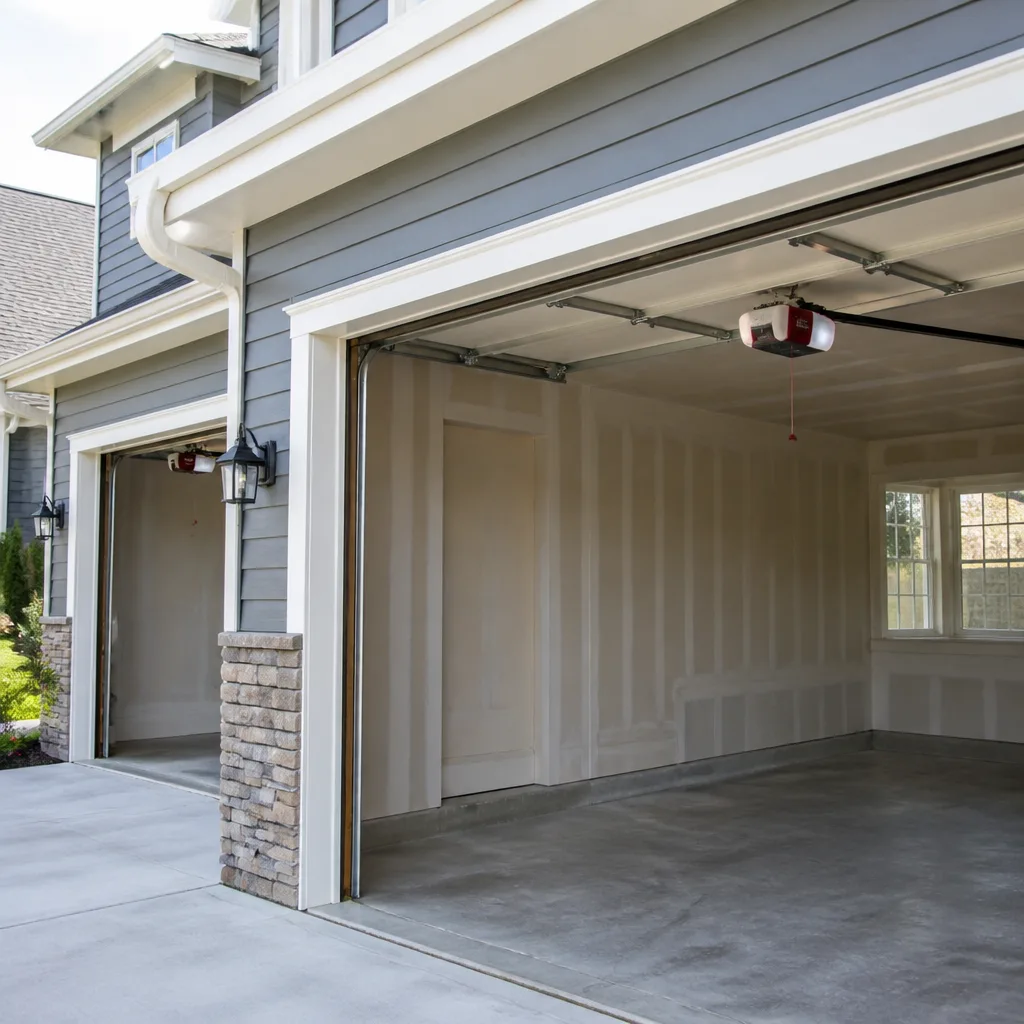 LiftMaster openers
 Chamberlain openers
Full 25-point door and opener safety check with every visit - springs, cables, rollers, tracks, and your LiftMaster or Chamberlain opener included
You get a price before we start. It does not change when the pro arrives.
Get your free estimateGarage Door Repair Maintenance Checklist for Spring Homeowners
Lubricating hinges on a door with a worn cable is like changing the oil on a car with a cracked block. The most common maintenance mistake isn’t skipping lubrication – it’s doing it in the wrong order, so the noise quiets down while the upstream failure keeps spreading. A garage door is a tension system with a sequence of wear, and the parts closest to that tension fail first. Check them in the wrong order and you’ll miss what the lubricant was hiding. This guide walks you through the sequence that actually catches problems early: springs, cables, drums, rollers, tracks, hardware, then the opener. It’s built for Spring homeowners who want a diagnostic workflow, not a cleaning routine.
Quick Answer
Inspect a garage door in this order: springs first, then cables, drums, rollers, tracks, hardware, and the opener last. Do the balance test after that, and lubricate only the parts that take grease – never the plastic or nylon-coated ones. Spring steel and cable anchor plates deserve an extra look after the humid June-to-September stretch, when rust pitting starts on unprotected metal. Run the checklist twice a year and you’ll catch most failures before they stop the door.
Styles & brands we work with
- Raised-panel steel
- Carriage house
- Modern flush
- Full-view glass
- LiftMaster openers
- Chamberlain openers
Table of Contents
- Why the Checklist Starts With Springs, Not Lubrication
- Checking Cables and Drums After the Springs
- Rollers and Tracks: What to Look For and What to Leave Alone
- Hardware, Fasteners, and the Balance Test
- Opener-Specific Checks: Jackshaft vs. Chain-Drive
- The Right Lubricant for the Right Component
- Spring, TX Humidity: What Changes in Your Inspection
- A Simple Two-Times-a-Year Schedule
Why the Checklist Starts With Springs, Not Lubrication
Springs carry the entire weight of the door. A torsion spring stores that force along the shaft above the door; an extension spring stores it along tracks on either side. Every other component downstream of the springs lives under that load, so wear on a spring shows up as strain on everything else. Check the springs first and you’ll know whether the noise, the sag, or the slow opener response is being caused upstream of where you noticed it.
What to look for on a torsion spring:
- A visible gap in the coil. A snapped torsion spring usually shows a clean separation, and the door will feel extremely heavy when you try to lift it by hand.
- Rust pitting along the wire surface. Pitting thins the spring wire, and a thinned spring loses its lift capacity before it breaks.
- A stretched gap between coils when the door is down. Even spacing means the spring is still holding its wind.
On an extension spring, look at both ends where the spring hooks into the track and the safety cable runs through the center. Wear at either end point is where failures usually start.
This is the part of the checklist where we’re most careful about what we tell homeowners to do. Springs sit under extreme tension, and both torsion and extension springs can cause serious injury if adjusted or removed without the right winding bars and training. Inspect visually only. Never unwind, adjust, or remove a spring yourself. If anything looks off – a gap, deep pitting, or a door that won’t lift by hand – that’s a call to a trained technician, not a DIY project. Torsion and extension spring work is a core specialty of ours, and Spring Garage Door Repair Pros handles it because the consequences of getting it wrong are real.
Checking Cables and Drums After the Springs
Cables are the second link in the chain, and they’re where you’ll find the most common hidden failure in a garage door system. A door can look fine from the outside while a cable has worn down to a fraction of its original diameter. That’s the failure the lubricant was hiding in our opening example: the hinge squeaks, you grease it, and the frayed cable 4 inches away keeps wearing through.
Run this check in order:
- Look at the cable where it comes off the drum. Frayed strands, flattened spots, or a cable that’s starting to separate into individual wires all mean replacement.
- Follow the cable down to the bottom corner bracket. Look for slack, kinks, or a cable that has jumped off the drum groove.
- Check the anchor plate where the cable attaches to the door. Rust and loose fasteners at the anchor point are the most common source of cable failure.
- Look at the drums themselves. The drum is the grooved spool at the top of each side. Check that the cable is seated in the grooves and that the drum isn’t cracked at the set screw.
Do not pull on, loosen, or re-seat a cable under tension. Cables are also under spring load, and a slipping cable can snap with enough force to injure. Visual inspection only. If a cable shows fraying or the door is hanging unevenly, stop and call a technician.
If your cable or drum needs replacing, garage door repair covers the full system on a single visit rather than piecemeal – which matters because a worn cable usually means the drum and spring have taken the same wear.
Rollers and Tracks: What to Look For and What to Leave Alone
Rollers are the most misunderstood part of a garage door, mainly because homeowners confuse the two roller types. Steel rollers with sealed ball bearings take grease and hold it for a long time. Nylon rollers and nylon-coated steel rollers are meant to run dry – grease them and the grease attracts grit, which grinds the nylon down faster.
Here’s how to check your rollers:
- Spin each roller with your finger. It should turn freely with no grinding or wobble. A roller that wobbles is loose on the stem and will wear its track.
- Look for flat spots on the roller surface. Flat spots mean the roller is dragging, which loads the opener.
- Check for cracks in nylon rollers, especially near the stem. A cracked roller can drop out of the hinge.
- If a roller is worn, replace it before lubricating the rest of the system. Grease on a failing roller just extends the failure.
Tracks need a different treatment. Look for dents, bends, and any point where the roller seems to jump. Tracks can be knocked out of alignment by a bumped bumper or a slightly off-path door. Do not attempt to bend a track back into shape yourself – a track that looks straight can still be off by a fraction that wears the door and rollers. If the tracks are visibly bent, call a professional.
Vertical tracks along the sides and the curved section at the top are the two places to look most carefully. On horizontal tracks overhead, check that the brackets are tight against the ceiling. Loose hardware is often the real cause of a “track problem,” and that’s addressed in the next section.
The brand of your door doesn’t change the order here – Clopay, Amarr, and Wayne Dalton doors all use the same fundamental roller and track system. Knowing your brand still helps because replacement parts and roller styles vary. Our technicians work with all three, plus Genie openers, so you’re not stuck guessing whether your specific door is supported.
Hardware, Fasteners, and the Balance Test
Hardware is where your inspection moves from the door’s mechanics to its fasteners, and it’s where a lot of small problems get caught before they become big ones. Check hinges, brackets, and bolts. Loose bolts on the hinge plates and track brackets are the single most common cause of a door that starts wobbling.
Walk the door with your eyes and a wrench you don’t tighten yet, and look for:
- Hinges with worn pins or loose leaves. A hinge that’s visibly loose on the door is a replacement, not a tightening.
- Bolts and lag screws that have backed out at the track brackets and hinge plates.
- Rust around bolt heads and on the bottom bracket. Rust on fasteners is more common after the humidity peak in Spring than in most of the country, and it’s a sign to check those joints more often.
- The lift handle and any bottom bracket covers – anything loose on a moving door is a snag risk.
Tighten hardware to a firm snug, never to the point of crushing a bracket. If a hinge is worn, replace it before you tighten the rest.
How to perform the balance test
- Close the door and disconnect the opener by pulling the manual release cord.
- Lift the door by hand to about waist height and stop.
- Let go and watch. The door should stay put, or drift only slightly.
- Repeat at knee height and shoulder height.
A door that drifts more than about 2 inches in either direction – down or up – is telling you the spring tension and the door’s weight are no longer matched. Drift upward means the springs are over-tensioned, likely from a spring that was wound too tight or a door that’s gotten lighter than the spring expects. Drift downward means the springs are losing lift, usually due to wear or pitting. Either way, correcting spring tension is technician work, not homeowner work.
If your door fails the balance test, don’t run the opener trying to force it. That’s how a $200 problem becomes a $600 opener replacement. Getting that tension recalibrated is exactly the kind of job where garage door repair saves you money over waiting for the opener to burn out.
Opener-Specific Checks: Jackshaft vs. Chain-Drive
The opener comes last because it’s downstream of everything else. If the door is balanced and the hardware is tight, the opener only has to do its own job. If the door isn’t balanced, the opener is doing the door’s job, and it wasn’t designed for that.
Checks that apply to any opener:
- The safety reverse test. Lay a 2-by-4 flat on the floor in the door’s path (or hold your hand under a closing door, using care). The door should reverse on contact. If it doesn’t, stop using the door and get the opener serviced.
- The photo-eye test. With the door starting to close, break the beam with your leg. The door should reverse immediately. Clean the lenses if it’s finicky.
- The manual release. Pull the cord and confirm the door disconnects cleanly. Re-engage it and confirm the carriage catches.
- Listen. A chain-drive opener makes a rhythm of soft clicks. Grinding, grinding that gets worse, or a sudden rattle points at a gear or rail problem.
Chain-drive units, common in older Spring builds, are forgiving and noisy by design. Their weak points are the chain tension and the opener rail mounts. Lubricate the chain lightly (not the rail) and check the rail mounts for looseness.
LiftMaster 8500W jackshaft units are common in the newer Spring homes because they mount on the side wall next to the torsion bar instead of overhead, freeing up ceiling space. Their weak points are different: the side-mount bracket, the wall control wiring, and the battery backup (if equipped). Check that the wall bracket is tight and that the manual release works smoothly from the side. Because the jackshaft couples directly to the torsion bar, a spring problem on a jackshaft door often shows up as opener strain – another reason the balance test matters so much.
If the opener is what’s failing and not the door, dedicated garage door opener repair handles LiftMaster, Chamberlain, Genie, and Craftsman units – the brands you’ll most often find on a Spring garage ceiling. If you’re replacing the system entirely, a new opener and a garage door installation can be scheduled together so the rail, brackets, and safety sensors are all done in one shot.
The Right Lubricant for the Right Component
Now comes the lubrication step – and the reason we put it last. By the time you’ve checked the springs, cables, drums, rollers, tracks, and hardware, you know which components are healthy and which are failing. Greasing first hides failures downstream; greasing last seals in what you’ve already checked. It also keeps you from greasing a part that shouldn’t be greased at all.
Match the lubricant to the part:
- Steel torsion springs and hinge pins: white lithium grease or a dedicated garage door spring lubricant. Springs are steel-on-steel and take a coating.
- Metal hinges, rollers with steel bearings, and the torsion shaft bearings: white lithium grease or a light machine oil.
- Steel ball-bearing rollers: a couple of drops of 3-in-1 or a lithium spray, worked into the bearing.
- Nylon rollers and nylon-coated components: silicone spray, or nothing at all. Silicone is the only thing that belongs on any nylon surface.
- Chain-drive opener chain: a light chain lubricant, applied sparingly. Do not grease the rail itself; a dry rail runs cleaner.
- Jackshaft opener (like the LiftMaster 8500W): follow the unit’s own lubrication guidance, and never grease the torsion bar itself.
What never goes on a garage door:
- WD-40 as a general door lubricant. It’s a solvent with light oil, and it evaporates. It quiets a hinge for a week and then attracts grit.
- Grease on nylon rollers. It grinds the nylon and the door starts to shudder.
- Heavy grease on the opener chain or rail. It turns into a paste that wears the chain and clogs the drive.
- Petroleum-based lubricant on springs that carry a factory coating. It can break down the coating and let the rust in faster.
Apply lightly. A light film is enough on a spring; a three-second spritz on a hinge. Overspray onto the door panels is harmless but looks sloppy, and it collects dust that ends up back on the moving parts.
Spring, TX Humidity: What Changes in Your Inspection
Spring sits in a humid stretch from June through September. That’s not extreme heat and it’s not extreme cold – it’s steady moisture in the air, and it changes what a garage door inspection should prioritize.
The two places to watch:
- Spring wire surface. Rust pitting starts on the wire surface where the factory coating has worn or been rubbed. Pitting thins the wire, and a thinned spring loses lift before it snaps. Check the full length of the coil, top and bottom of the torsion bar or the sides of the extension spring.
- Cable anchor plates and the bottom bracket. These are low on the door, close to the floor, and the most exposed to damp air. Rust around the anchor bolts and any flaking at the bracket means the joint needs attention.
Also look at the bottom panel and the bottom seal after a humid stretch. Moisture gets pushed into the garage by afternoon storms, and a door with a worn bottom seal lets water pool at the base. That reaches the anchor plate and accelerates rust. Replacing a bottom seal is a cheap job; replacing a rusted anchor plate on a loaded cable is not.
The upside of Spring’s climate: because winters don’t bring freezing and the spring wire isn’t fighting ice or frost, a door here can last the full service life of its springs if you catch pitting early. A spring in Spring that never sees salt or a freeze cycle won’t rust as fast as one in a colder climate – provided you catch pitting when it’s a spot, not a groove.
What changes in the schedule: run the spring and anchor-plate check once in late spring (before the humid stretch) and once in early fall (right after it). That’s the two-point check that keeps pitting from becoming a broken spring.
A Simple Two-Times-a-Year Schedule
Two full inspections a year is enough for most Spring doors – one in spring, one in fall – with a quick visual scan of the springs and cables after a big storm. Keep it simple and repeatable.
Use this as your half-yearly routine:
- Springs first. Visual only. Gap, pitting, spacing.
- Cables and drums. Fraying, slack, seating, anchor plates.
- Rollers and tracks. Spin each roller. Look for dents and loosened track brackets.
- Hardware. Check hinges, bolts, bottom bracket. Tighten snugs only.
- Balance test. Disconnect the opener, lift to waist height, let go, watch for drift beyond about 2 inches.
- Opener checks. Safety reverse and photo eye, manual release, chain tension.
- Lubricate last. White lithium on steel, silicone on nylon, light chain lube on the chain.
What you don’t do yourself: adjust spring tension, unwind or replace a spring, re-seat a cable, or bend a track. Those are the parts of the routine where a trained technician saves you a lot more than the call costs.
Common Mistakes to Avoid
- Lubricating before inspecting. A greased hinge that stopped squeaking can be masking a frayed cable a few inches away. Always inspect upstream first, lubricate last.
- Greasing nylon rollers. Grease on a nylon roller grinds it down and makes the door shudder. Silicone only, or nothing.
- Skipping the balance test. A door that drifts more than 2 inches is telling you the spring tension is off. Running the opener on an out-of-balance door is the most common way to turn a spring problem into an opener problem.
- Assuming the opener is the problem. When a door gets heavy and slow, the opener usually gets the blame. Nine times out of ten the opener is fine, and the spring has lost tension. Diagnose from the springs downhill.
- Ignoring rust pitting after the humidity peak. In Spring, the June-to-September stretch is when spring wire and cable anchor plates start to pit. Check both directly after it every year, not just in the spring.
- Tightening bolts until they’re rock hard. Snug is correct. Over-tightening crushes brackets and cracks the hinge plates.
- Bending a bent track back by hand. A track that looks straight can still be off by a fraction that wears the door and rollers. If it’s bent, call a technician.
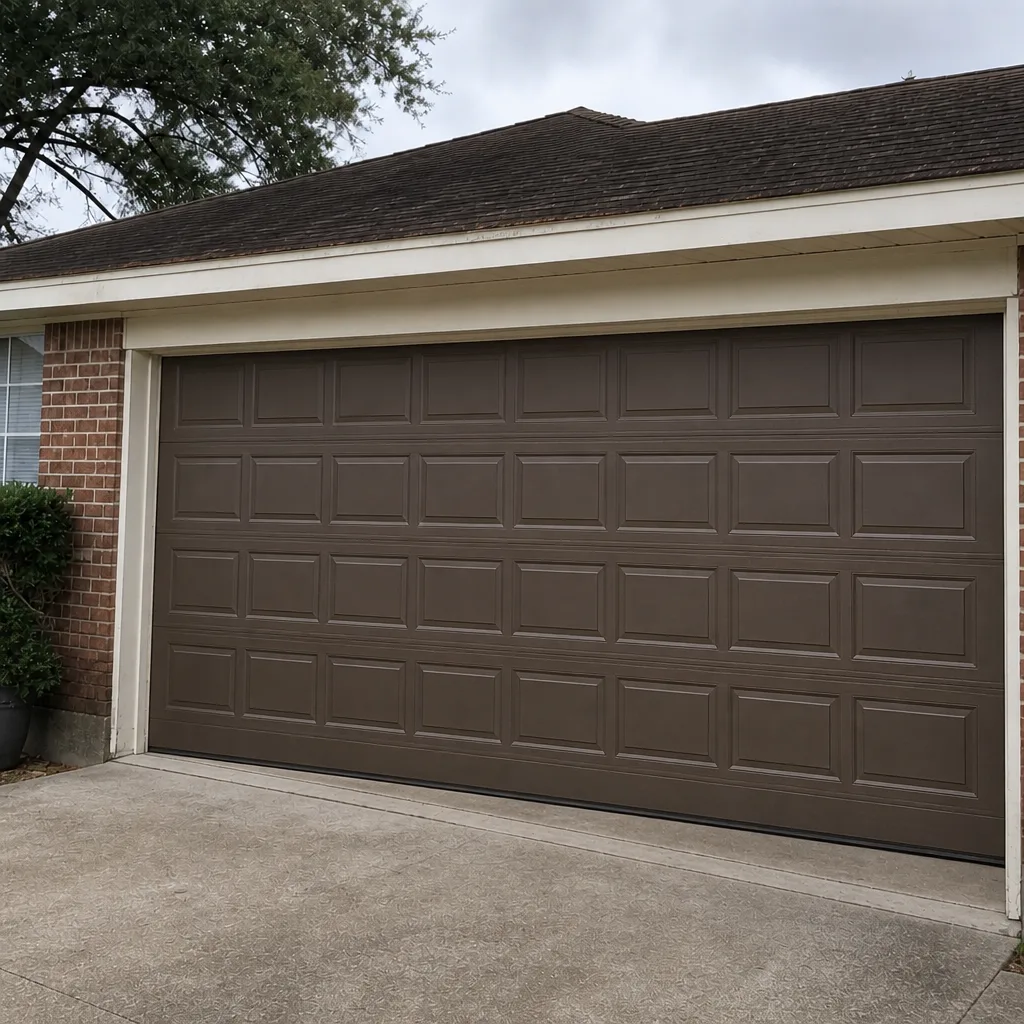
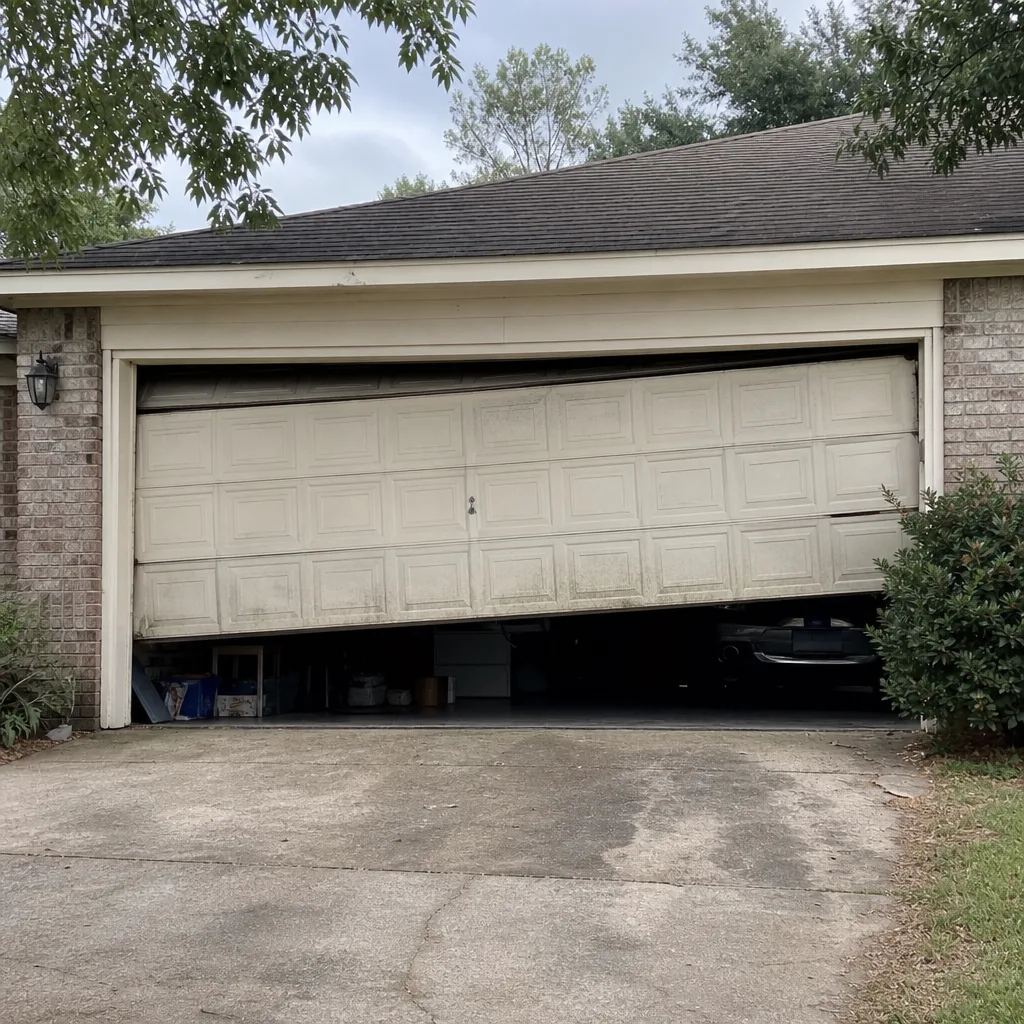
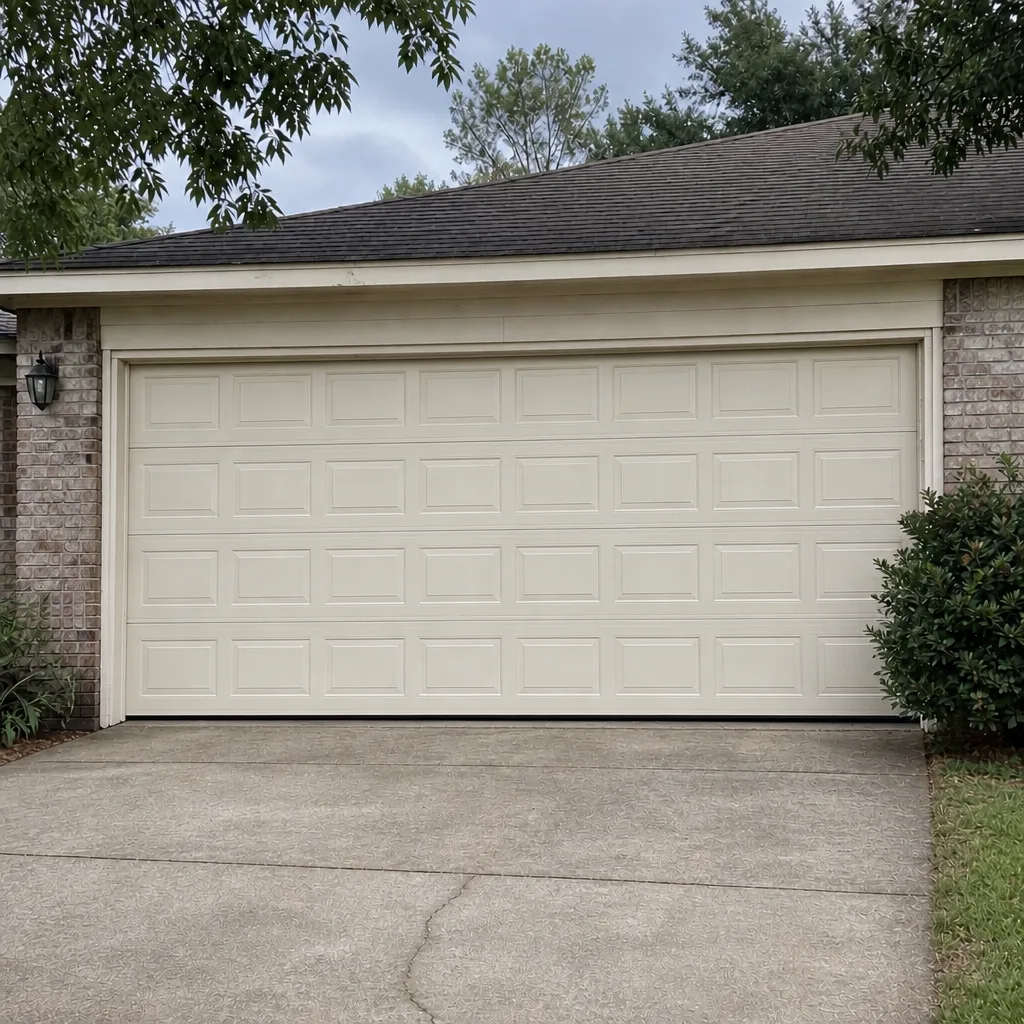
See the difference
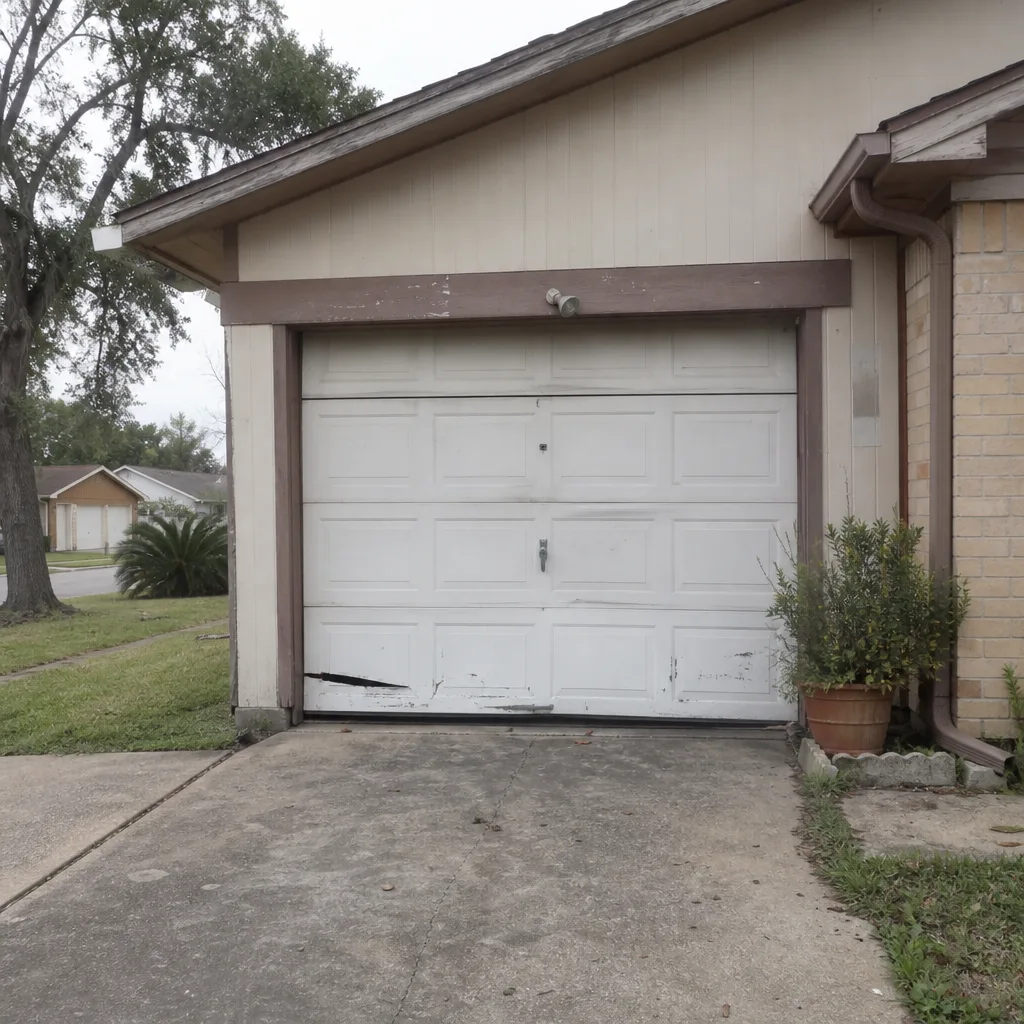 Before
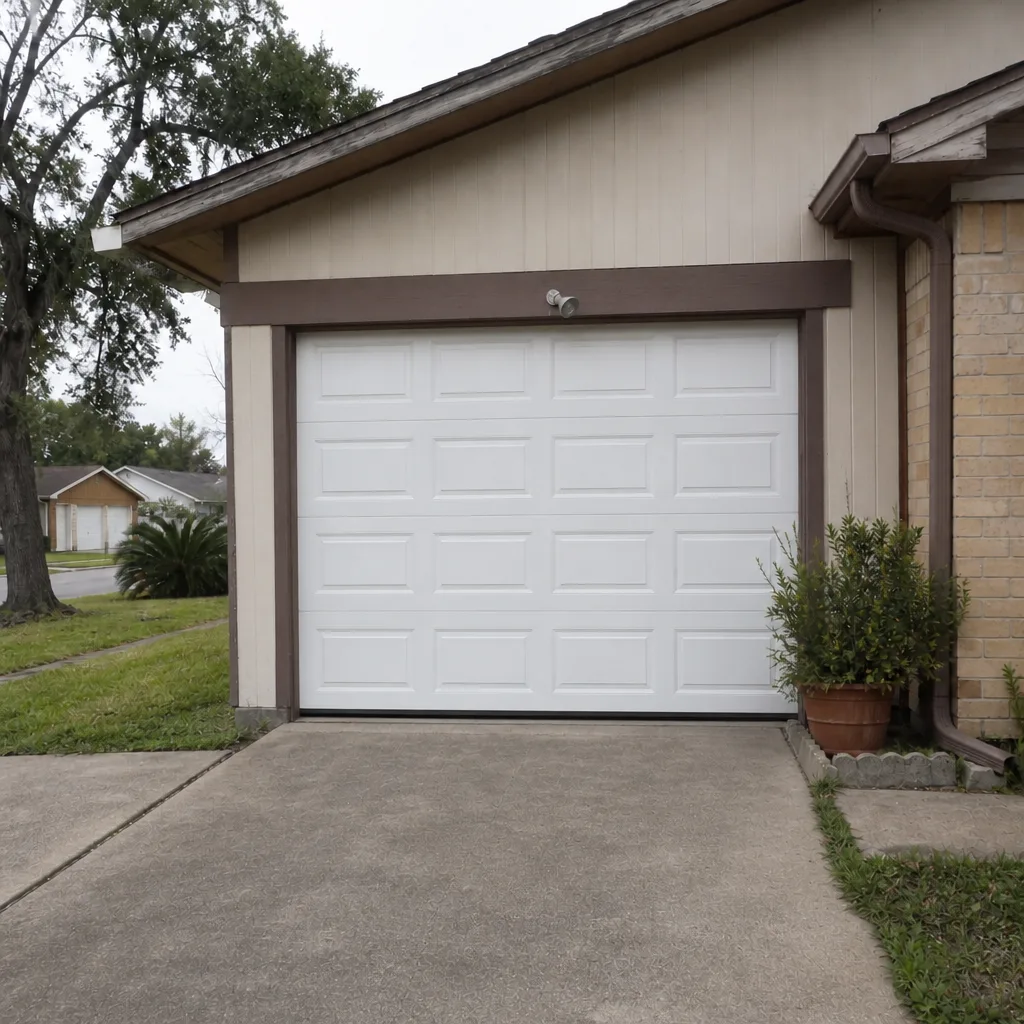 After
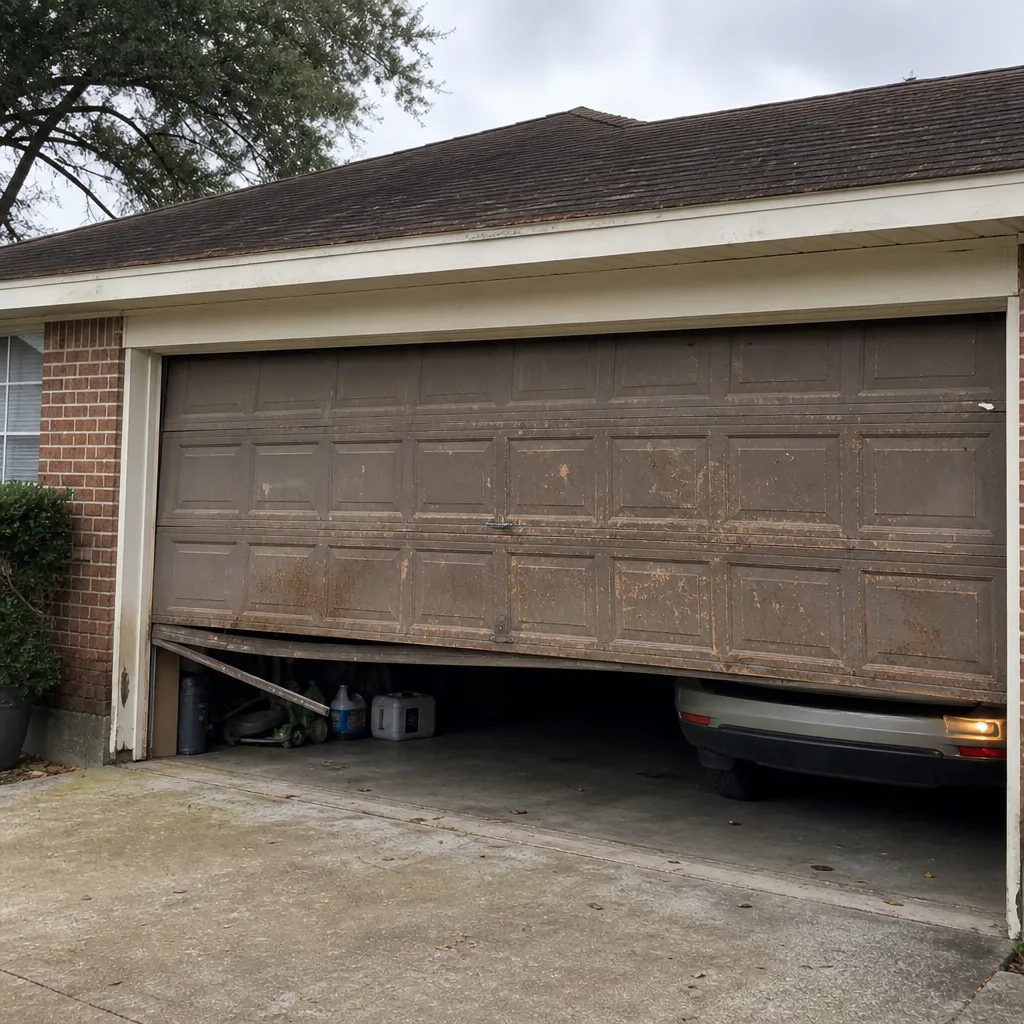 Before
 After
 Before
 After
When to Call a Professional
Call a professional when the door won’t lift by hand, when a spring shows a gap, when a cable is frayed or the door hangs unevenly, when a track is visibly bent, when the balance test fails, or when the opener’s safety reverse won’t trigger. Those are the cases where continuing to use the door makes the damage worse. For every one of them, you want a technician who works on garage doors every day, not a generalist who handles doors along with everything else.
Spring Garage Door Repair Pros offers free estimates in Spring – call (855) 337-1360. If you’re replacing the system, we’ll measure, order, and schedule rather than promise a same-day fix; a written price before work starts is how we operate. Our technicians have up to 10 years of experience, and we work with the major brands you’re likely to have on your Spring door.
Frequently Asked Questions
Twice a year is the right cadence: once before the humid stretch and once after it. The extra humidity here makes spring rust and cable anchor plate corrosion the two items to watch, so a quick visual scan after big storms is worth the two minutes. Anything beyond a visual check – spring, cable, track, or tension work – should go to a technician.
A drift of more than about 2 inches in either direction means the spring tension no longer matches the door’s weight. Drift upward usually means the springs are over-tensioned; drift downward usually means they’ve lost lift from wear or pitting. Correcting it is technician work because the spring is under load. Call (855) 337-1360 for a free estimate – we’ll diagnose the spring against the door weight and quote the fix in writing before any work starts.
Yes, you can apply a light coating of white lithium grease to the outside of a healthy torsion or extension spring. You can’t adjust the spring’s tension, unwind it, or remove it without a certified winding bars and the training to use them safely – both types of springs can cause serious injury. Inspect visually, lubricate the surface, and call a technician for anything involving adjustment or replacement.
It depends on the roller type. Steel rollers with sealed bearings take white lithium grease or a couple of drops of 3-in-1. Nylon rollers and nylon-coated rollers take silicone spray only, or nothing – grease grinds the nylon down and makes the door shudder. Never use WD-40 as a general door lubricant; it evaporates and attracts grit.
Probably not. On a jackshaft model like the 8500W, a straining opener almost always points to a spring that’s lost lift, not a failed unit – the jackshaft couples directly to the torsion bar, so any spring weakness shows up as opener strain. Test the balance first. If the door drifts more than 2 inches, the spring is the problem. If you’re not sure, call (855) 337-1360 for a free estimate. Estimates are free, and the written price is agreed before work starts.
We quote spring repair from the door’s actual configuration and the spring size, in writing, before we start. The written estimate sets the final price, so it doesn’t change once the work begins – if we find something extra while we’re in there, we stop and quote it separately before we touch it. Call (855) 337-1360 for a free estimate on your door.
We work with Clopay, Amarr, Wayne Dalton, LiftMaster, Chamberlain, Genie, and Craftsman, so most Spring homeowners won’t need to wonder whether their system is supported. We also carry replacement parts, which means a broken component can usually be replaced without a wait on a third-party supplier. If you’re not sure what you have, tell us the brand name on the door or the opener and we’ll take it from there.
Keep using it lightly, but get it inspected soon. Pitting thins the spring wire, and a thinned spring loses lift before it breaks – which means the door gradually gets heavier and the opener takes the strain. Catching it at the pitting stage is a straightforward spring replacement. Catching it at the broken stage is a much bigger job, and can damage the opener and the door panels too. Call (855) 337-1360 and we’ll take a look.
The Bottom Line
A garage door maintenance checklist only works if you run it in the right order. Springs first, then cables, drums, rollers, tracks, hardware, and the opener last – because that’s the order in which the door actually fails. Lubricate last, match the product to the component, and never put grease on nylon. Run the balance test every time; a drift over 2 inches is your early warning that spring tension has gone off, and Spring’s humid June-to-September stretch makes spring and anchor-plate checks extra important. Do the inspection part yourself and leave the tension, track, and cable adjustments to a trained technician. When it’s time for the mechanic side of the door, call (855) 337-1360 for a free estimate.
Written by the team at Spring Garage Door Repair Pros.