Last updated November 21, 2026
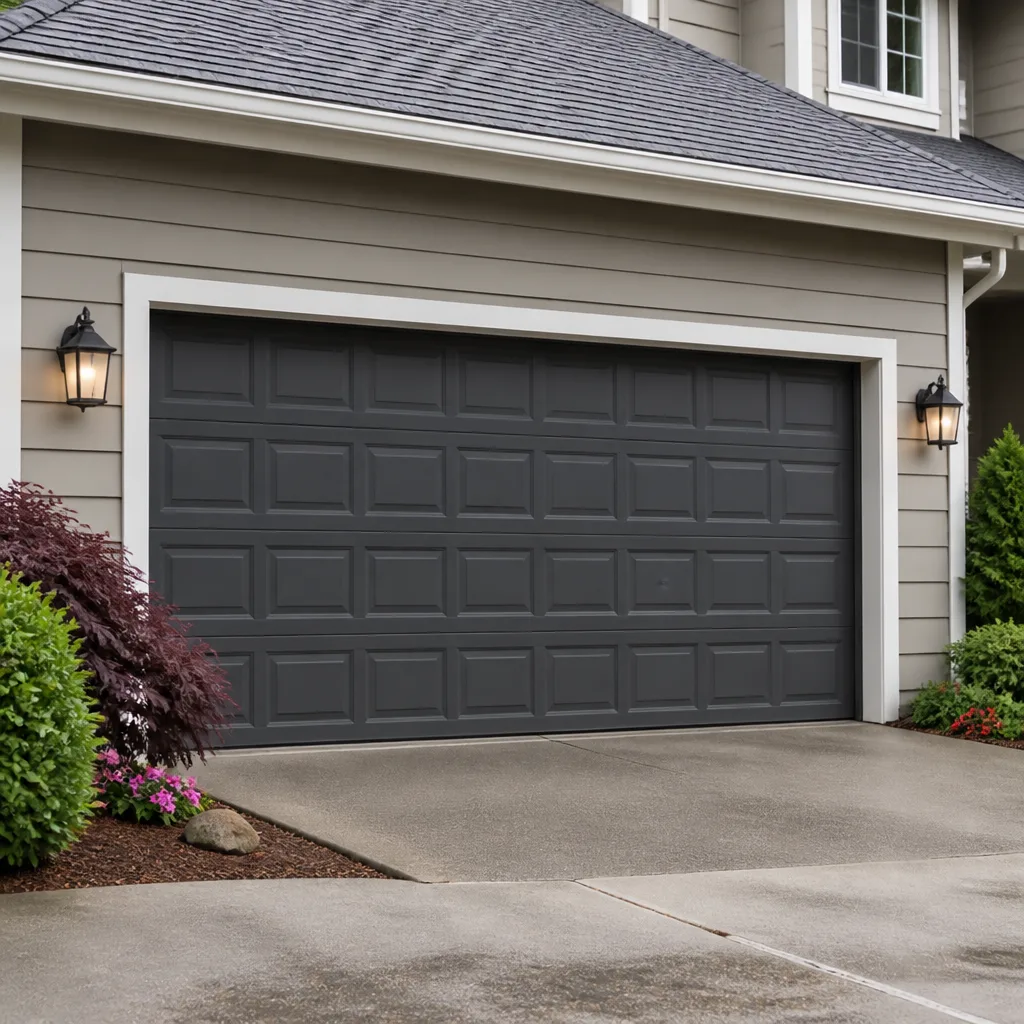 Raised-panel steel
 Carriage house
 Modern flush
 Full-view glass
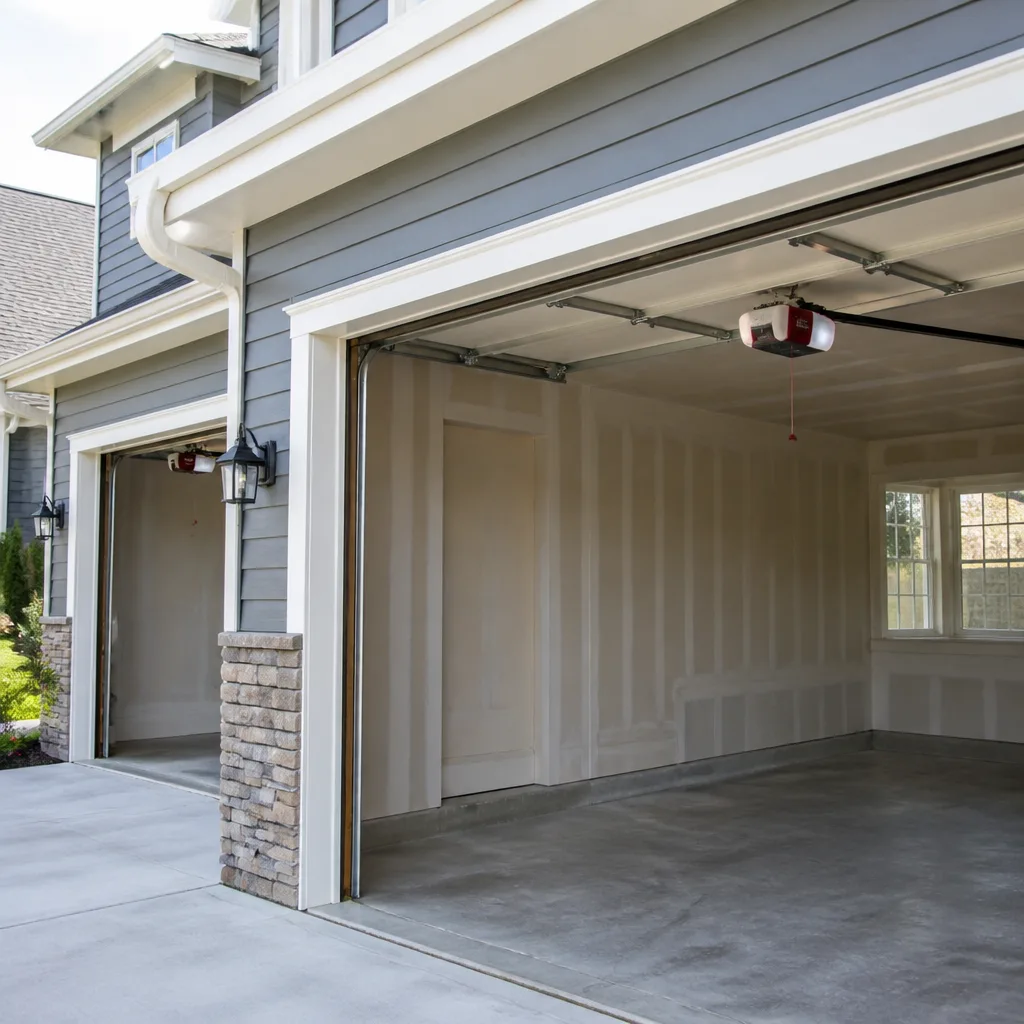 LiftMaster openers
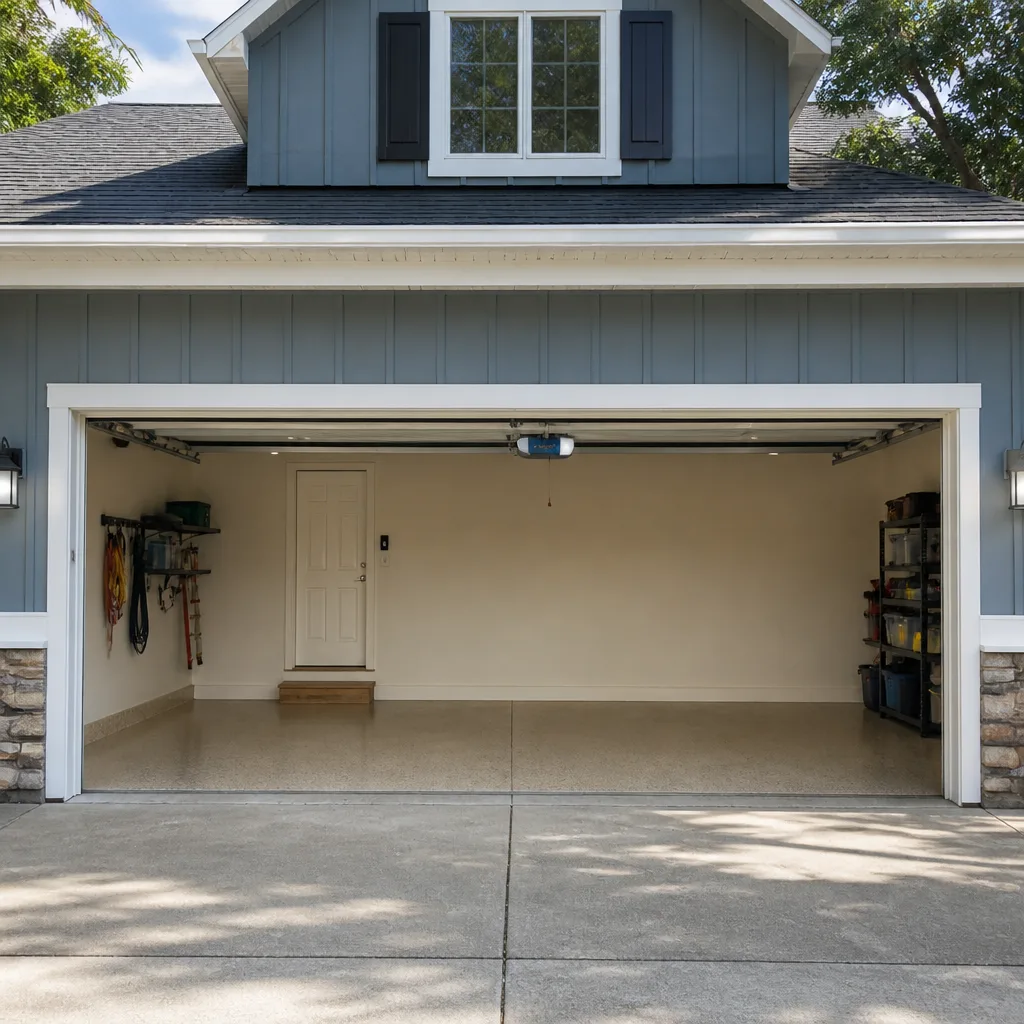 Chamberlain openers
Full 25-point door and opener safety check with every visit - springs, cables, rollers, tracks, and your LiftMaster or Chamberlain opener included
You get a price before we start. It does not change when the pro arrives.
Get your free estimateDIY vs Professional Garage Door: The Spring Homeowner’s Decision Guide
A wound torsion spring holds enough stored energy to move a door weighing a few hundred pounds, and it gives that energy back the instant something slips. Most homeowners frame the DIY-or-pro question around money. The better frame is mechanical consequence, because garage door tasks don’t fail politely. Some go wrong and cost you a Saturday. Others go wrong and send a person to the emergency room or drop a door on a car. This guide sorts every common garage door job into those two buckets, shows where improvisation turns dangerous, and explains what a real spring job looks like in a Spring, TX home.
Quick Answer
Do the low-consequence jobs yourself: weatherseal, lubrication, painting, visual inspections, and balancing tests. Leave torsion spring winding, cable drum replacement, and track realignment to a trained technician, because a slip in those jobs has injury or property damage as the downside. For anything involving the spring system, a professional visit is the safer and usually cheaper path once you count the tooling and the risk.
Styles & brands we work with
- Raised-panel steel
- Carriage house
- Modern flush
- Full-view glass
- LiftMaster openers
- Chamberlain openers
Table of Contents
- The Mechanical Consequence Model: Why This Isn’t a Normal DIY Call
- Task-by-Task Risk Matrix for Spring Homeowners
- The Tools a Real Torsion Job Requires (And Why Substitutes Fail)
- Texas Liability Reality: What Happens After a DIY Spring Repair Fails
- What a Professional Does That a Skilled DIYer Usually Doesn’t
- The Good DIY Maintenance That Extends Your Repair Intervals
- What Professional Spring Work Typically Costs in Spring
- Common Mistakes to Avoid
The Mechanical Consequence Model: Why This Isn’t a Normal DIY Call
A torsion spring stores roughly 100 foot-pounds of torque when it’s wound. Think about that in human terms: it’s engineered to lift a door that weighs hundreds of pounds, repeatedly, for thousands of cycles. The spring doesn’t know whether the person adjusting it was trained. A quarter-turn miscalculation during installation doesn’t produce a door that runs a little rough. It produces a spring that unwinds violently, and the person holding the winding bar is standing directly in its path.
That’s why framing this as “hard vs. easy” misses the point. Plenty of garage door jobs are hard but safe. Torsion work is different because the failure mode isn’t “the door doesn’t work.” It’s injury. Extension springs on older doors, common in the neighborhoods around Spring, carry the same energy in a different geometry, and they’re the reason so many of these systems are fitted with containment cables. When one lets go, that cable is the only thing keeping the spring from leaving the track entirely.
In our experience, homeowners who ask about DIY spring repair are usually capable people. They’ve fixed plumbing, swapped an outlet, done real work around the house. The spring system is just a different category. It’s a stored-energy device, and stored-energy devices punish small errors disproportionately. That’s the entire argument for professional spring work, and it holds regardless of how handy you are.
Where the recoverable failures live
Not every garage door task carries the same risk profile. Weatherseal replacement, painting a panel, cleaning the tracks, replacing a remote battery, or repro-gramming an opener all have recoverable failure modes. If you do them wrong, you redo them. No one gets hurt. Those jobs belong on your to-do list.
The line isn’t difficulty. It’s what happens when you slip. Once the downside is injury or a dropped door, the math changes, and the professional call becomes the rational choice even for a confident homeowner.
Task-by-Task Risk Matrix for Spring Homeowners
Here’s how the common garage door jobs sort by consequence, not difficulty. This is the table we’d hand a Spring homeowner who wants a clear-eyed answer without a sales pitch.
- Weatherseal replacement: DIY-friendly. Low consequence. Worst case is a leaky seal you replace again.
- Panel painting or cosmetic touch-up: DIY-friendly. Low consequence, and a Clopay or Amarr steel door takes paint well when prepped properly.
- Lubrication and visual inspection: DIY-friendly. Low consequence, high value. Do this monthly.
- Remote and keypad programming: DIY-friendly on LiftMaster, Chamberlain, Genie, and Craftsman openers. The manual covers it.
- Manual balance test: DIY-friendly. Release the opener and lift the door by hand to check resistance. Stop if it fights you.
- Roller and hinge replacement: Borderline. Safe on a door with springs intact, dangerous if a spring has already failed and you’re working under tension.
- Track realignment: Professional-only. A misaligned track under a live spring can bind and release suddenly.
- Cable drum replacement: Professional-only. Cables are under spring tension and can cut through a glove and a hand.
- Torsion spring winding or replacement: Professional-only. This is the injury-physics call. Improvised tooling is the single largest source of serious garage door injuries.
- Extension spring replacement: Professional-only. Same energy, different geometry, and containment cables have to be set correctly.
Why track realignment belongs in the professional bucket
Tracks look like simple bolted-on steel. They aren’t simple when the spring system is live. A track that’s been nudged out of plumb can bind the door mid-cycle, and the spring reacts to that bind. We’ve seen doors where a homeowner straightened a track by eye, and the door ran fine for a while, then jumped the track on a hot afternoon. The track wasn’t the root problem. The tension balance was, and the track adjustment just hid it.
The Tools a Real Torsion Job Requires (And Why Substitutes Fail)
A legitimate torsion spring job requires winding bars sized to the inside diameter of the specific spring on your door. Not rebar. Not screwdrivers. Not a pair of vise grips. Winding bars are hardened steel rods that fit the winding cone exactly, so the bar seats fully and stays seated while you apply torque. When the bar fits properly, you control the release. When it doesn’t, the cone can spin free and the bar becomes a projectile.
That’s the actual mechanism behind most DIY spring injuries. It isn’t that homeowners are careless. It’s that the tool they grabbed wasn’t engineered for the load. A screwdriver shaft bends under torsion. Rebar has the wrong diameter and won’t seat in the cone. Either one can slip at exactly the wrong moment. The professionals who do this work day in and day out use winding bars because the alternative is unacceptable, not because the bars are expensive.
What a proper torsion kit includes
- Two winding bars, sized to the spring’s inside diameter. Two, so you always have one controlling the cone while you reposition the other.
- A spring that matches the door’s actual weight, measured, not guessed from the door’s listed size.
- New cables and cable drums when the existing ones show wear, because reusing fatigued cables under fresh tension is a false economy.
- Containment cables on any extension spring setup.
- A fish scale to measure door weight, which is how the correct spring gets specified in the first place.
If you don’t own items one through five, the job isn’t ready to start. Buying them costs more than a professional spring repair, and that’s before you account for the risk. On a LiftMaster or Chamberlain system, you also want the opener’s force settings and travel limits rechecked after the spring work, because a new spring changes the load the opener sees.
Texas Liability Reality: What Happens After a DIY Spring Repair Fails
If a DIY spring installation contributes to a door failure that injures someone, whether a child or a visitor, homeowner’s insurance coverage can depend on whether the repair was performed to code. That’s the sentence most DIY guides leave out. A garage door is a moving mechanical system on your property, and a repair that deviates from manufacturer or building-code requirements can become an underwriting problem after the fact, when you’re already dealing with the injury.
Texas doesn’t have a single statewide garage door code that covers every residential installation. Local jurisdictions handle permitting and inspection, and the rules vary. If you’re planning a DIY spring repair in Spring, the honest first step is a call to the city’s building department to ask what applies to your project. That’s not a scare tactic. It’s the same call you’d make before any permitted work on your home, and it takes ten minutes.
The professional path is simpler for a different reason. A technician who installs a spring carries the knowledge of what a compliant installation looks like, and the work is documented. If something goes wrong later, there’s a record of who did the work, what parts were used, and when. With a DIY repair, you’re the installer, the inspector, and the liable party all at once. In our experience, that’s a trade most homeowners don’t want once they see it spelled out.
The insurance question, answered plainly
We can’t tell you how a specific carrier will handle a specific claim. What we can say is that insurers look at cause and compliance. A repair that was done to code, by a qualified technician, with documentation, is a very different claim profile than a spring that was installed by hand with improvised tools. Ask your carrier directly if you want a definitive answer for your policy. It’s worth the phone call before you start.
What a Professional Does That a Skilled DIYer Usually Doesn’t
A confident homeowner with good video tutorials can get a spring replaced. The gap between that and a professional job is in the measurements and confirmations that don’t show up in a fifteen-minute video. Those steps are why the spring lasts and why the door runs true.
- Weight the door with a fish scale. The spring has to match the door’s actual weight. Not the weight on a spec sheet, not the weight the last installer assumed. A technician measures it, because a spring that’s slightly off-spec fatigues faster and puts uneven load on the opener.
- Confirm cable drum groove alignment. The cable has to wind into the drum groove evenly. If the drum is misaligned or the cable crosses its own path, the door runs crooked and the spring wears unevenly. This is a visual check a pro does as a matter of course.
- Set turns by IPPT formula, not by color. The “standard turns per spring color” shortcut is a guess. IPPT, or inch-pounds per turn, is calculated from the door’s weight and the spring’s dimensions. That’s how the correct number of turns gets set. It’s the difference between a door that balances and a door that fights the opener.
- Recheck opener force and travel settings. After a spring change, the opener has to be re-tuned to the new load. On a Genie or a LiftMaster, that means re-running the force and travel calibration so the safety reverse works correctly.
- Test the safety reverse. A door that fails the reversal test is a door that can injure someone standing under it. A professional confirms it before leaving.
None of these steps are glamorous. Together they’re what separates a spring job that lasts from one that comes back. If you’re repairing a door that’s had a snap, our garage door repair team runs these checks as part of the job. If the opener is the part that’s failing, garage door opener repair covers that separately.
The Good DIY Maintenance That Extends Your Repair Intervals
There’s real DIY work worth doing, and it isn’t spring replacement. It’s the maintenance that keeps the door running smoothly between professional visits. Done consistently, these tasks stretch the interval between repairs and catch small problems before they become spring failures.
Monthly lubrication protocol
- Lubricate the hinges, rollers, and springs with a garage-door-specific lubricant, not WD-40 or general-purpose oil.
- Wipe the tracks clean and apply a thin film of lubricant. Don’t grease the tracks heavily; the rollers need to roll, not slide.
- Check the opener’s chain or belt for slack and adjust per the manufacturer’s spec if needed.
Manual balance test
Release the opener using the manual release handle, then lift the door halfway and let go. A properly balanced door stays where you put it. If it sinks or rises on its own, the spring tension is off, and that’s a professional call. Do this with the door disconnected from the opener so you’re testing the spring system, not the opener.
Visual cable inspection
Look at the cables on both sides for fraying, kinks, or visible sag. Don’t touch them. A cable under tension can snap without warning, and visible wear is the signal to call a professional, not to investigate further.
Photo-document your spring markings
Snap a photo of the spring color code and any part numbers on the spring and the opener. When a spring fails, having that photo means a technician can spec the replacement before arriving. It’s a thirty-second task that saves a return trip. On a Wayne Dalton or Raynor door, the door’s model number is worth photographing too.
For a full installation or a door replacement down the road, our garage door installation team handles the measure, the order, and the setup. If you’re doing the maintenance yourself and want to know what’s next on the list, our Spring Garage Door Repair Pros team can walk you through it.
What Professional Spring Work Typically Costs in Spring
Spring work is usually quoted per job, and the written estimate sets the final price. Here’s how the typical ranges break down for Spring homeowners, so you can compare a professional quote against the real cost of doing it yourself.
- Torsion spring replacement, one spring: Typical range falls in the low-to-mid hundreds. A matched pair is usually replaced together, so a pair costs roughly twice the single-spring figure.
- Extension spring replacement: Comparable to torsion work, and it includes containment cables when the setup calls for them.
- Cable and drum replacement: Often bundled with spring work. Ask for the cable and drum lines separately so you can see what’s being replaced.
- Winding bars and a correct spring, bought for a DIY job: Typically more than a professional spring repair, before you count the risk.
- Opener recalibration after spring work: Often included with the repair. Confirm it in the quote.
Every price we quote is agreed before any work starts. If the technician finds something the estimate didn’t cover, like a bent track or a worn drum, that gets discussed and priced with you before it’s touched. No surprise invoices. Our technicians have up to 10 years of experience, and the local pro is licensed and insured as the state requires. Estimates are free.
Common Mistakes to Avoid
- Using screwdrivers or rebar as winding bars. This is the single most common cause of DIY spring injuries. The tool has to seat in the cone to control the release, and nothing else does.
- Replacing one spring when the pair is matched. A matched pair wears together. Replacing one leaves the older spring carrying uneven load, and it usually fails next. A pair costs about twice a single spring, and it’s the right call.
- Guessing turns by spring color. Color codes vary by manufacturer and the “standard turns” shortcut ignores the door’s actual weight. Springs get set by IPPT formula, not by eye.
- Ignoring a balance failure. A door that sinks or rises on its own during the manual balance test means the tension is wrong. Skipping the test doesn’t fix it; it just delays the visit.
- Touching cables without understanding the load. Cables under tension can cut through a glove. Visual inspection is fine. Physical adjustment isn’t.
- Painting over a worn weatherseal instead of replacing it. The seal is cheap. Water intrusion into a Spring garage on a humid afternoon isn’t.
- Forgetting to recheck opener settings after spring work. A new spring changes the load the opener sees. The force and travel settings on your LiftMaster or Chamberlain need recalibration, and the safety reverse needs a test.
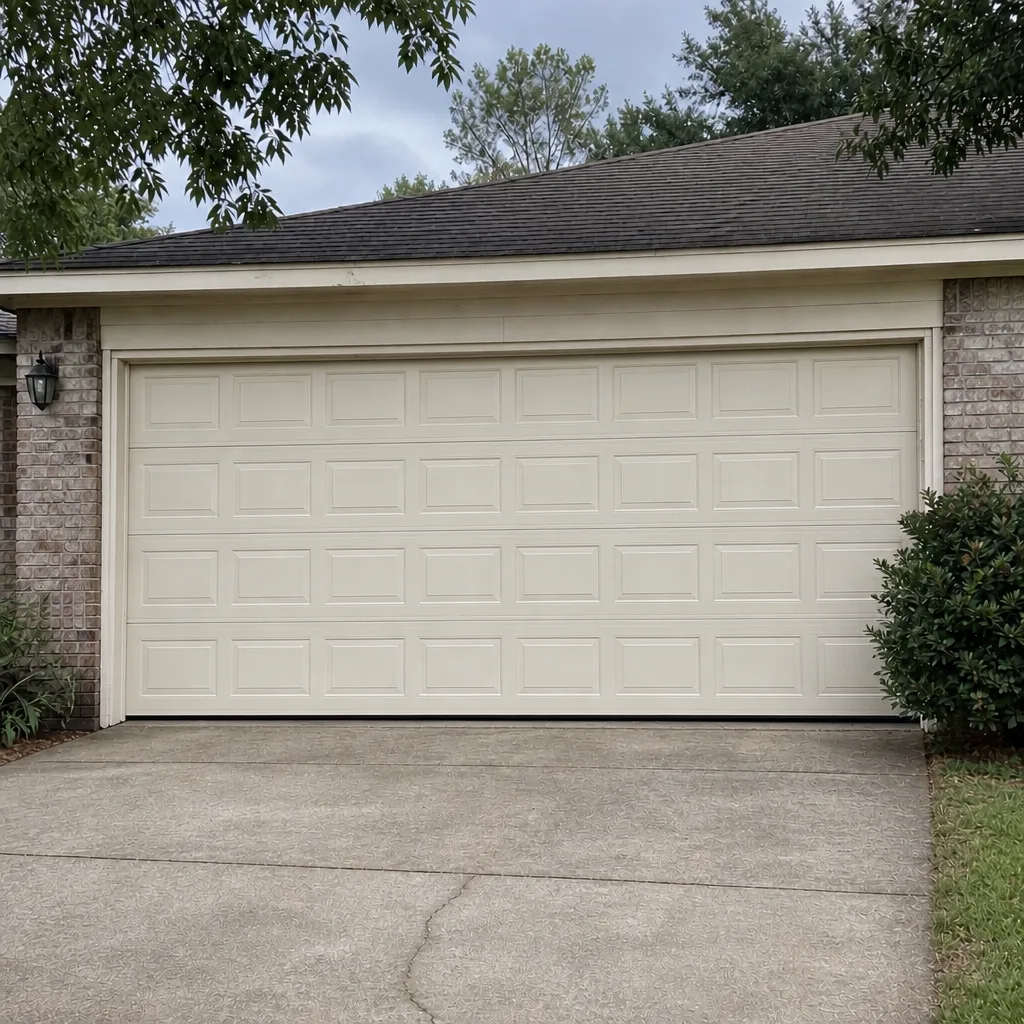
See the difference
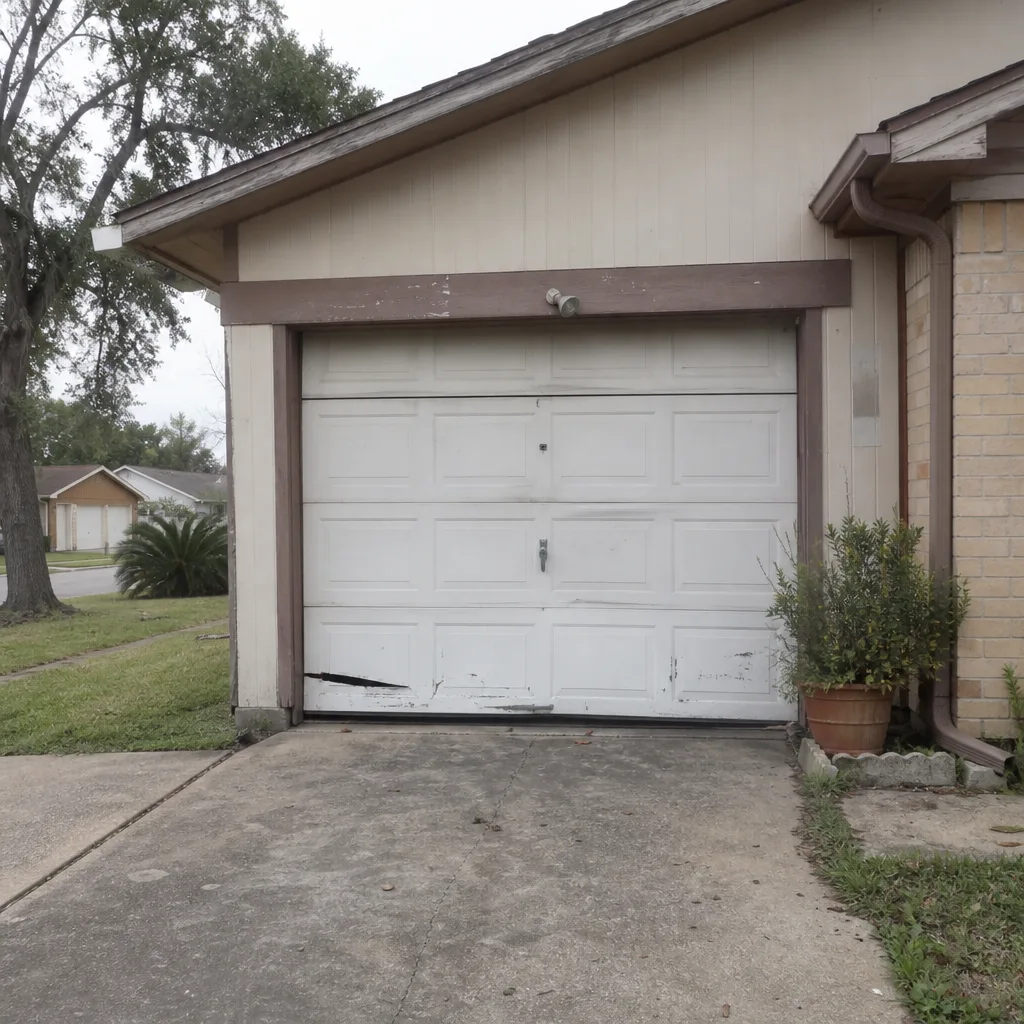 Before
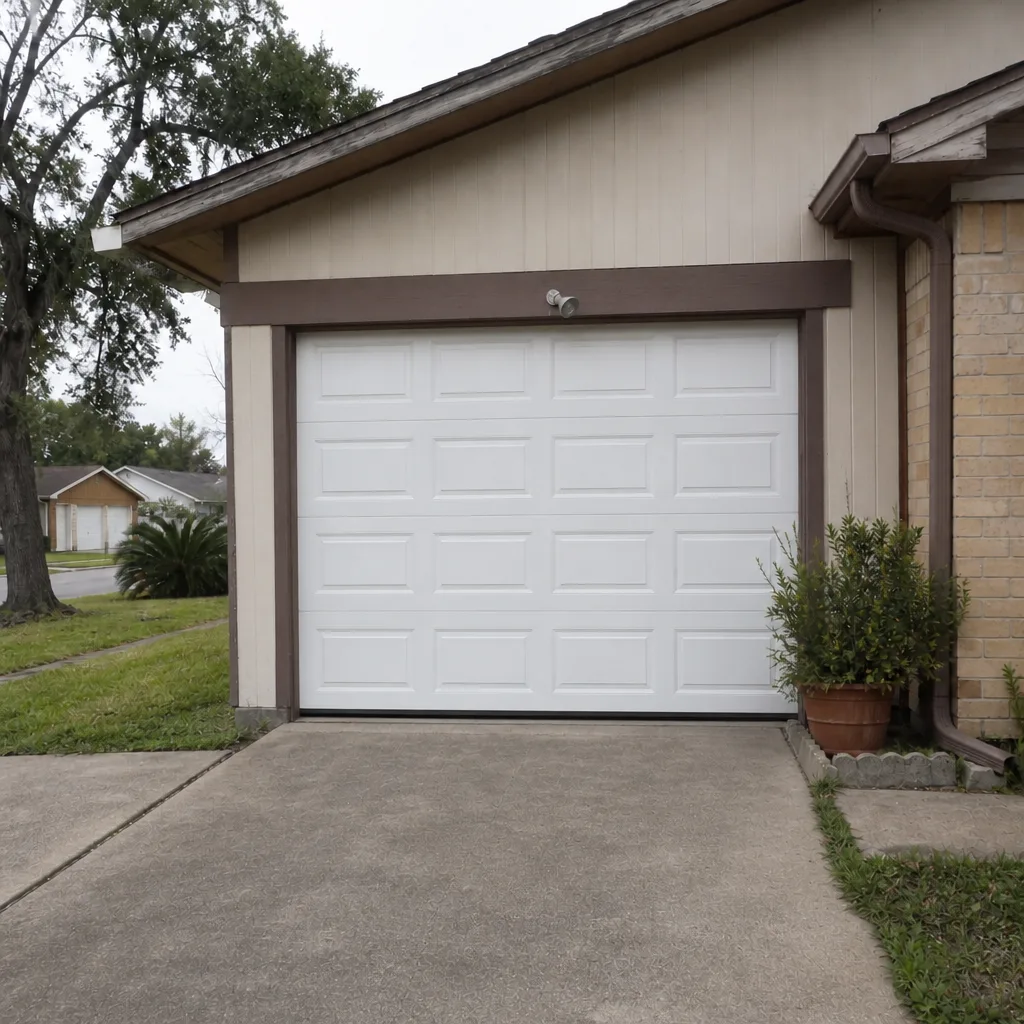 After
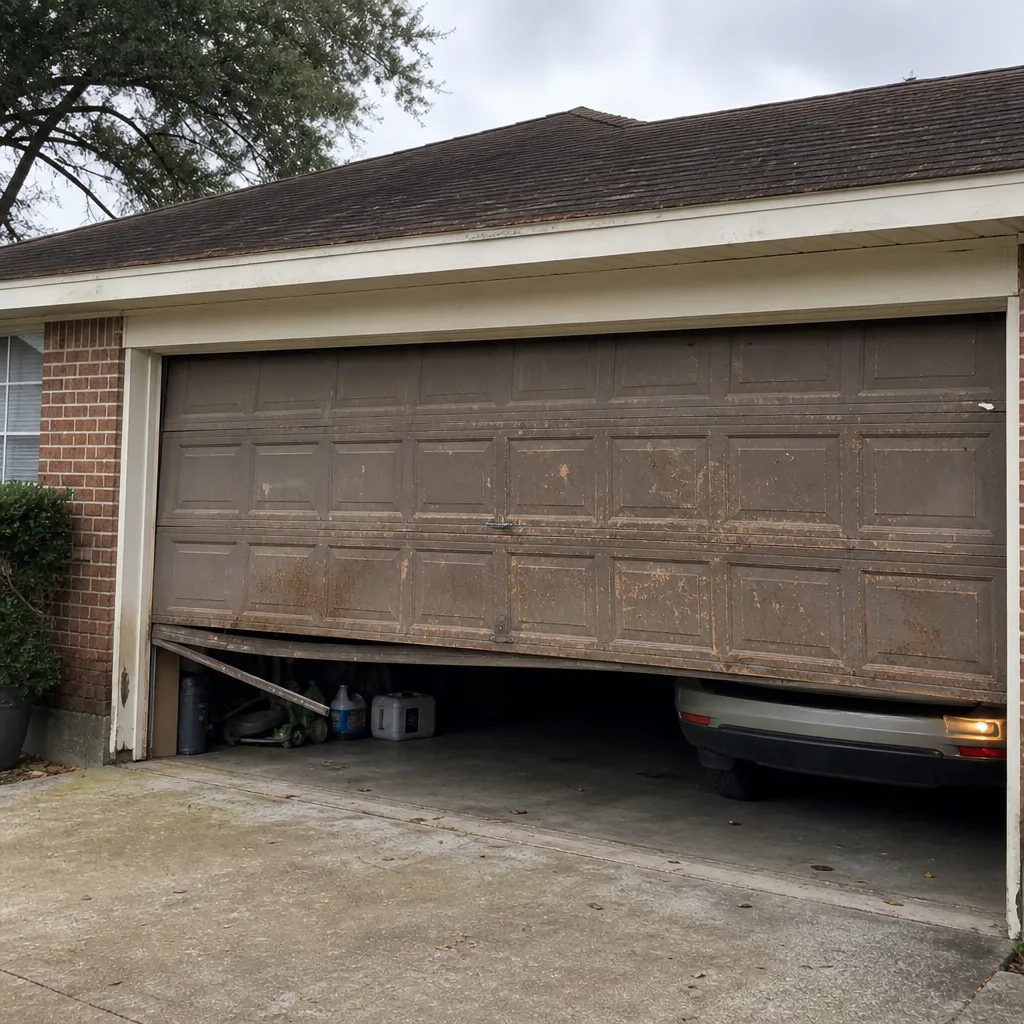 Before
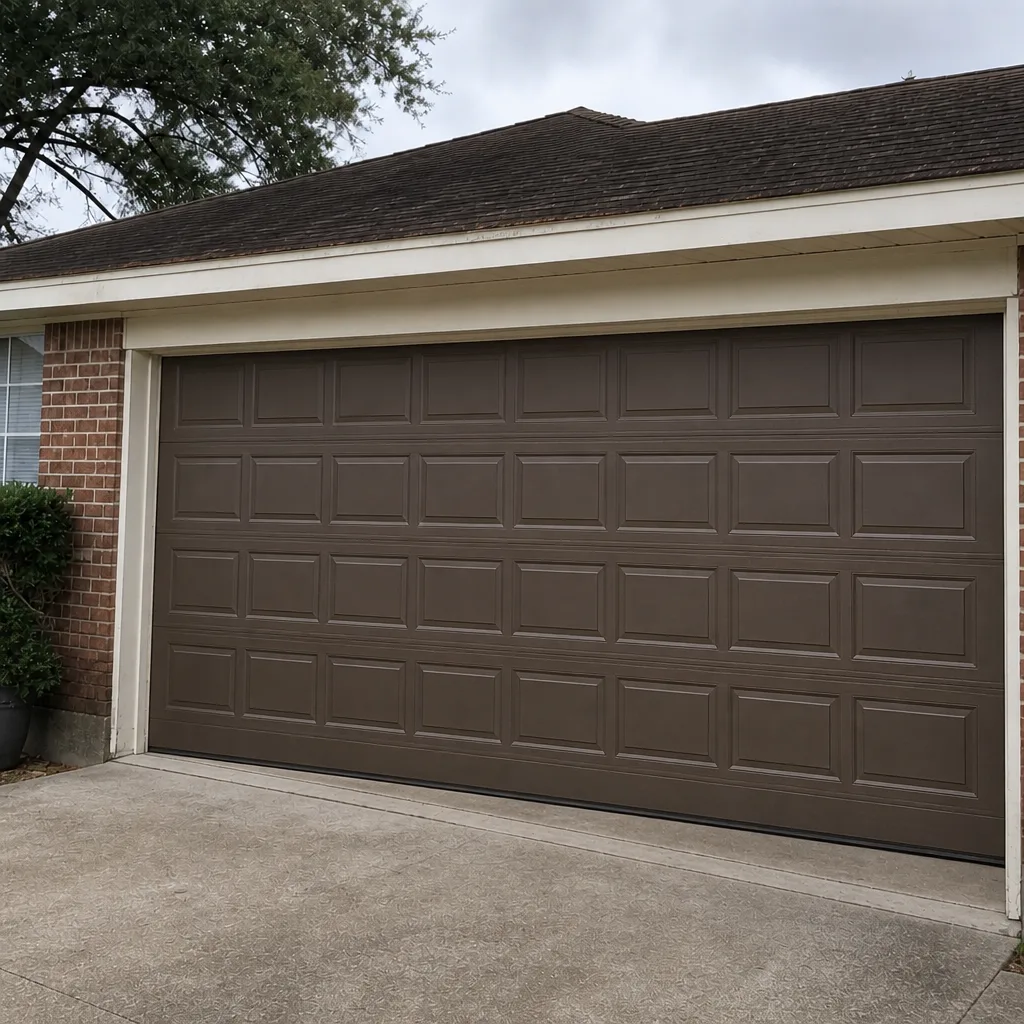 After
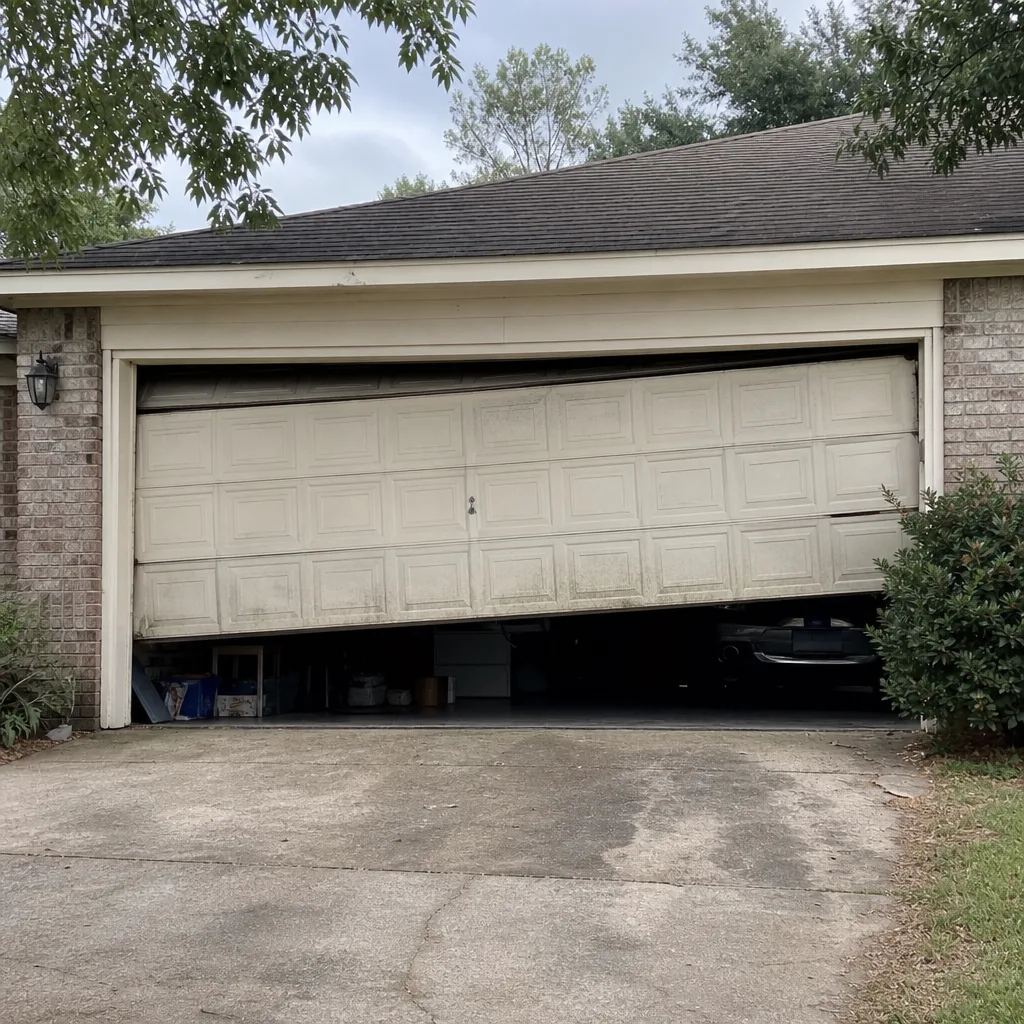 Before
 After
When to Call a Professional
Call a professional any time the spring system is involved and the door isn’t behaving. That includes a snapped torsion or extension spring, a door that sinks or rises on its own, a cable that’s slack or frayed, a door that’s jumped its track, an opener that’s straining or failing to complete a cycle, and any job that would put your hands into a live spring. The same applies if a spring has failed and the door is currently stuck or hung unevenly: don’t run the opener, because lifting a door against a broken spring can damage the opener and the door panel.
Spring Garage Door Repair Pros offers free estimates in Spring. We know the door and opener brands in your neighborhood, from LiftMaster openers to Clopay doors, and we work on the spring system as a specialty. Call (855) 337-1360 and we’ll get you a written price before anything is touched.
Frequently Asked Questions
No. Torsion spring replacement is a professional-only job because the wound spring stores enough energy to cause serious injury if the winding bar slips, and improvised tooling is the main cause of those injuries. A trained technician uses winding bars sized to the spring, measures door weight, and confirms the turns setting. Call (855) 337-1360 for a free estimate if your spring has failed.
Torsion spring replacement typically runs in the low-to-mid hundreds per spring, and a matched pair is usually replaced together, so a pair costs roughly twice that. The written estimate sets the final price, and it’s agreed before any work starts. Call (855) 337-1360 for a free estimate.
Serious injuries are well documented, and the mechanism is straightforward: a wound spring releases its stored energy in an instant when a winding bar slips or a cable fails. That’s why we treat spring work as a professional-only job. If your spring has snapped, keep the door closed and call a professional rather than running the opener. Call (855) 337-1360 to schedule a visit.
It depends on your policy and on whether the repair was performed to code, which is why you should ask your carrier directly before starting any DIY spring work. A compliant installation by a qualified technician has a different claim profile than an improvised repair. If your spring has failed, call (855) 337-1360 for a free estimate and skip the insurance question entirely.
A professional job measures the door’s weight with a fish scale, confirms cable drum groove alignment, sets the spring turns by IPPT formula, and rechecks the opener’s force and travel settings afterward. A tutorial usually skips every one of those steps. That’s why we include them on every spring job in Spring. Call (855) 337-1360 to book one.
Yes. Weatherseal replacement, monthly lubrication, the manual balance test, visual cable inspection, and photo-documenting your spring markings are all safe DIY tasks that extend the interval between professional repairs. Everything involving spring tension, cable drums, or track realignment belongs with a technician. If you’re unsure which category a job falls into, call (855) 337-1360 and we’ll tell you honestly.
The Bottom Line
The DIY-or-pro question gets framed around money, but the real divider is consequence. Low-risk tasks like weatherseal, lubrication, and visual inspection are worth doing yourself, and they genuinely extend the life of your door. Spring winding, cable drum work, and track realignment carry injury and property damage as the downside, and no tool savings justify that risk. Measure the door, set the turns properly, recheck the opener, and test the safety reverse: that’s what a professional spring job includes, and it’s why we do it this way in Spring. When your spring fails, call (855) 337-1360 for a free estimate.
Written by the team at Spring Garage Door Repair Pros.